Accounts
R2Drop supports multiple Cloudflare accounts. Each account has its own R2 bucket, path prefix, and custom domain.
The Accounts Tab
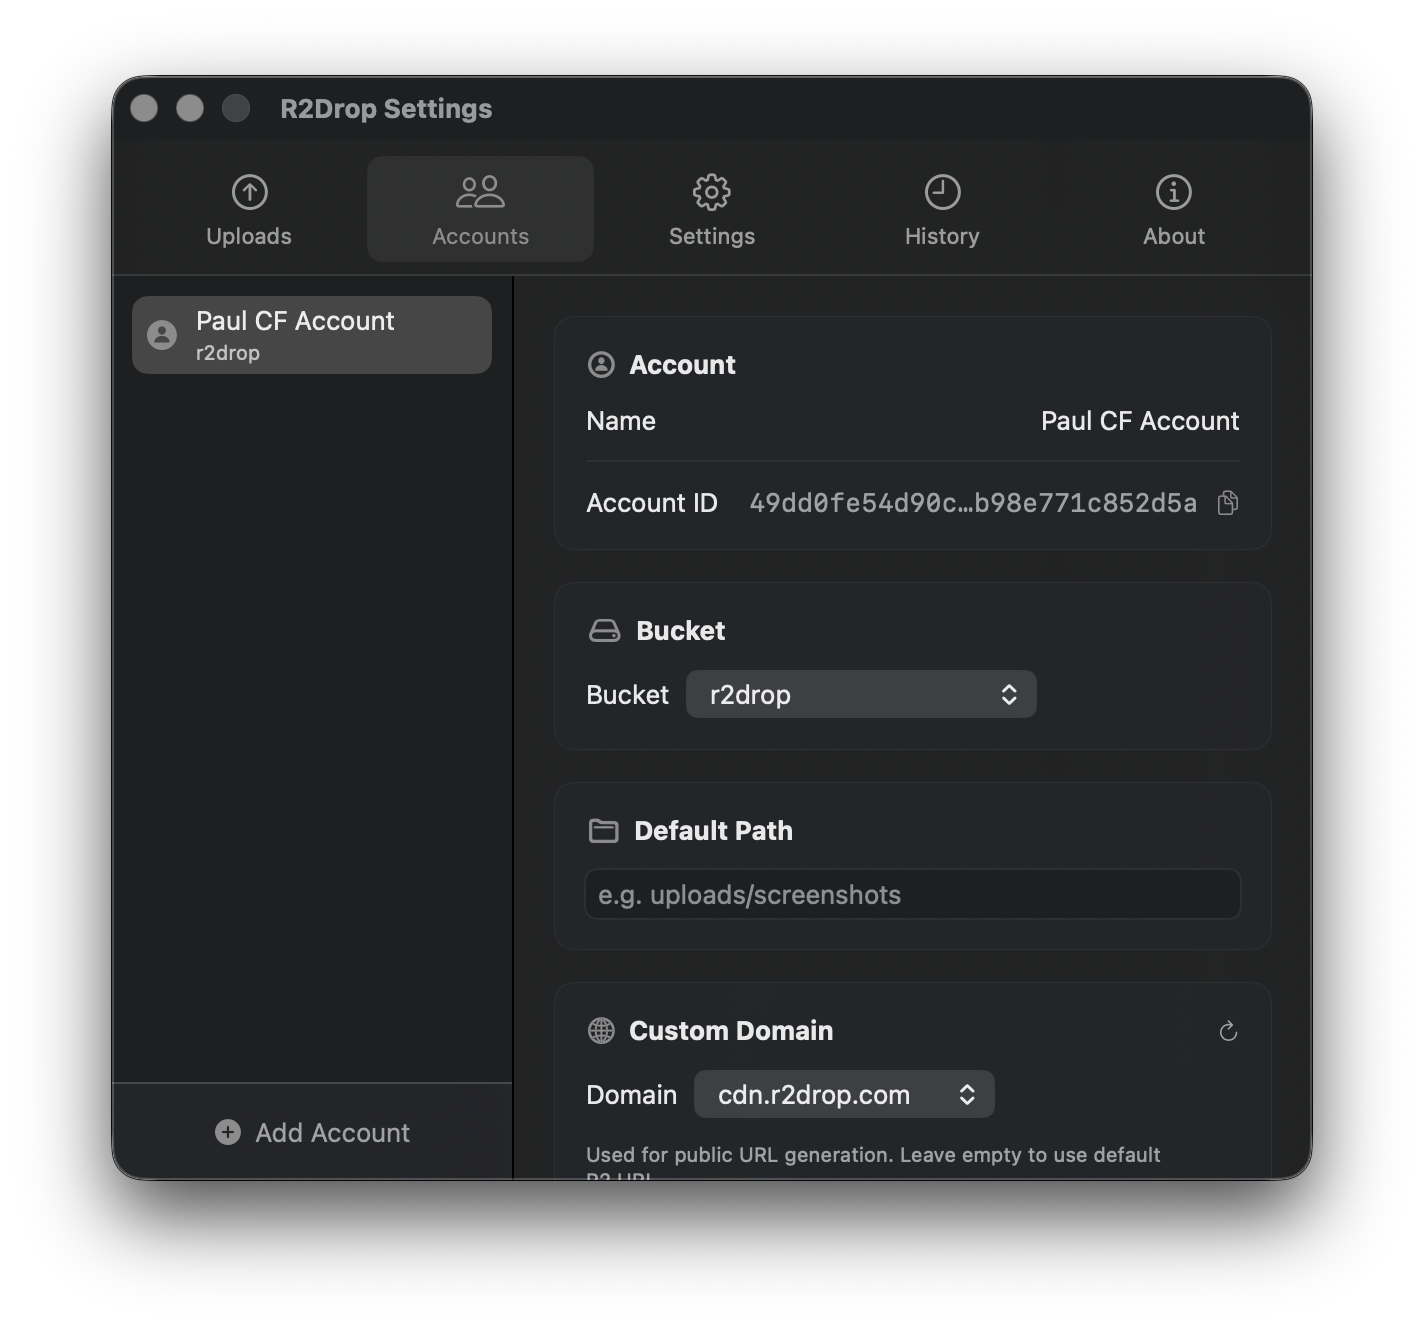
Each account entry shows:
Account name — your label (e.g., "Personal", "Work CDN")
Account ID — your Cloudflare account ID
Bucket — the R2 bucket to upload to
Custom domain — the public URL base (e.g.,
cdn.example.com)
Adding an Account
Open the Accounts tab
Click Add Account
Paste your Cloudflare API token — R2Drop validates it immediately
Fill in your Account ID, bucket name, and (optionally) custom domain and path prefix
Click Save
The API token is stored in macOS Keychain under service com.superhumancorp.r2drop. It's never written to config files.
Switching Accounts
Click any account in the list to make it the active account. All subsequent uploads use that account.
You can also switch accounts from the CLI:
Removing an Account
Click the account → click Remove. R2Drop will confirm before deleting.
Removing an account also deletes its API token from Keychain.
Multiple Accounts in the CLI
Use --account to upload to a specific account without switching:
See also: CLI → Account Management
Bucket Configuration
Account ID
Yes
Found in Cloudflare dashboard sidebar
Bucket
Yes
The R2 bucket name
Path prefix
No
Subfolder within bucket (e.g., uploads/2026/)
Custom domain
No
Domain connected to this R2 bucket — used to generate public URLs
If no custom domain is set, R2Drop generates URLs using Cloudflare's default R2 public URL format.
Last updated