First Upload

This guide walks you through connecting R2Drop to your Cloudflare R2 bucket and uploading your first file.

Onboarding walkthrough — connecting your Cloudflare account

Step 1: Create a Cloudflare API Token

R2Drop needs a Cloudflare API token scoped to your R2 bucket.

  1. Open dash.cloudflare.comarrow-up-rightMy Profile → API Tokens

  2. Click Create Token

  3. Use the Edit Cloudflare Workers template, or create a custom token with:

    • Permissions: Workers R2 Storage:Edit

    • Account: your Cloudflare account

  4. Copy the token — you'll only see it once

Security note: R2Drop stores this token exclusively in macOS Keychain. It's never written to disk or transmitted to our servers.


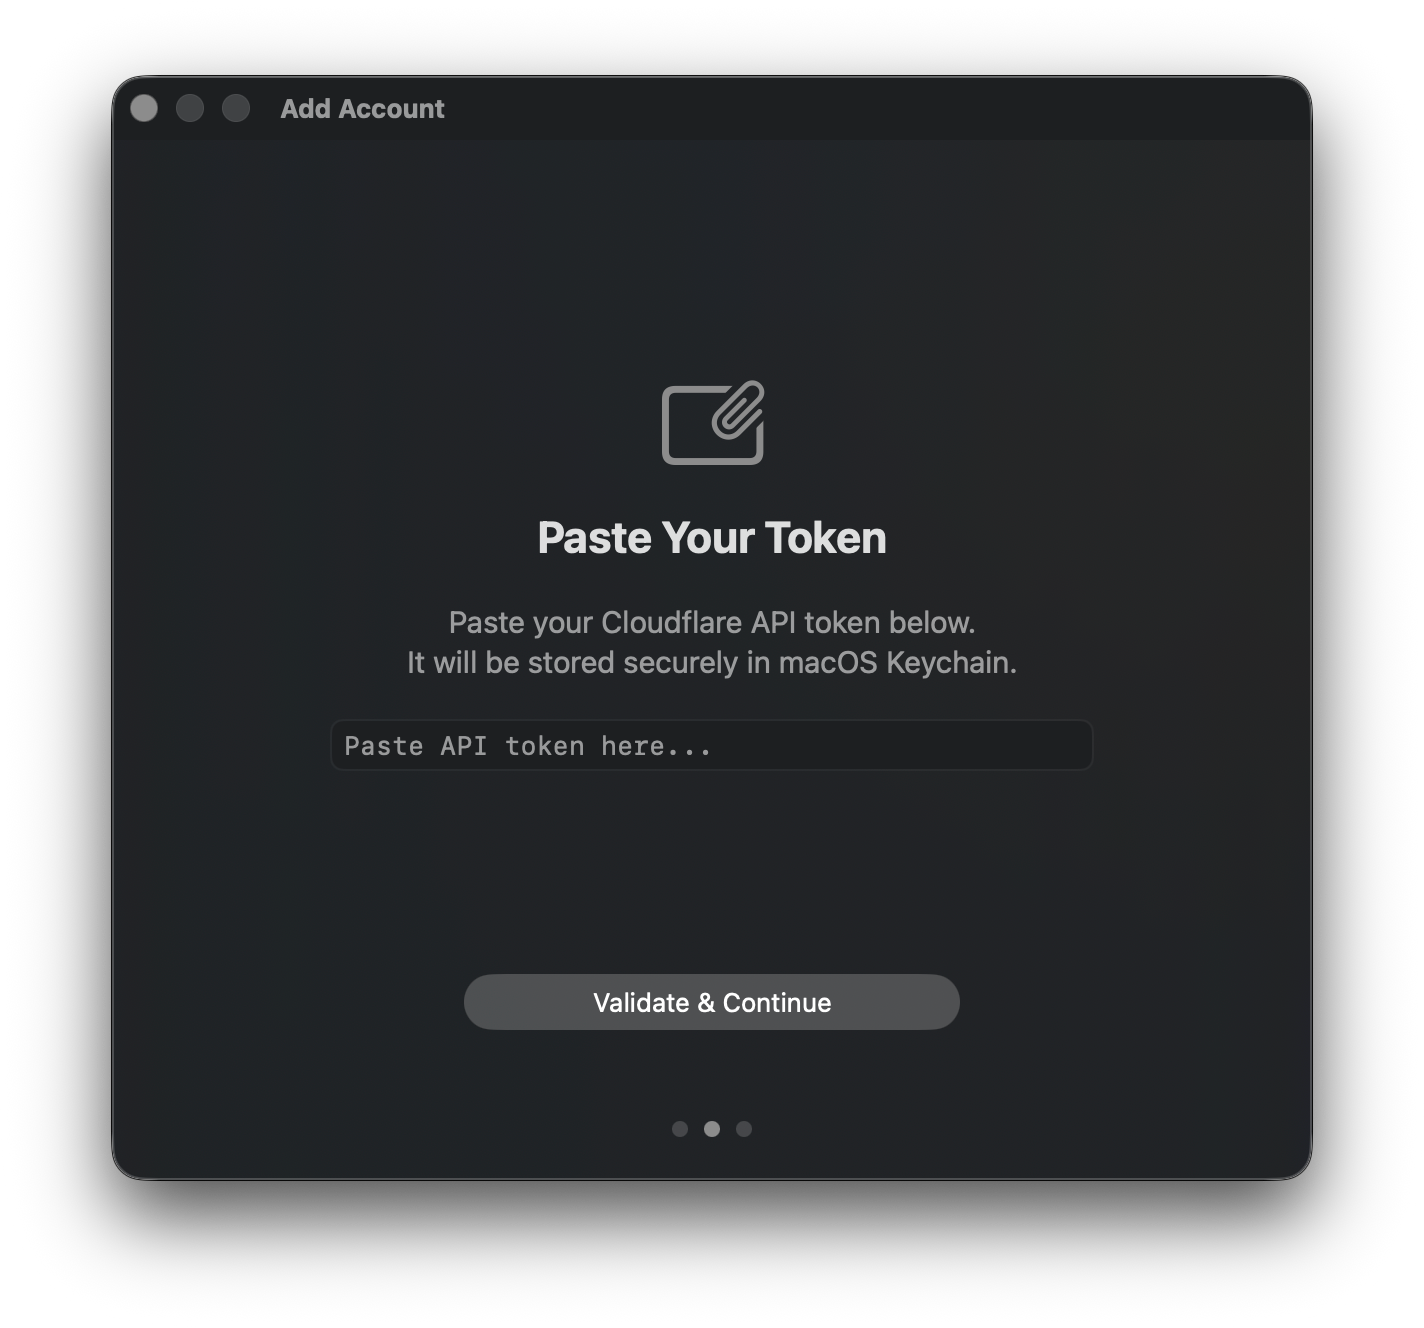
Step 2: Open Onboarding

When you first launch R2Drop, the onboarding flow opens automatically.

If you need to add an account later: open Accounts tab → Add Account.

Paste Your Token panel in the onboarding flow

Paste your Cloudflare API token into the token field and click Verify.

R2Drop will validate the token against Cloudflare's API before saving it.


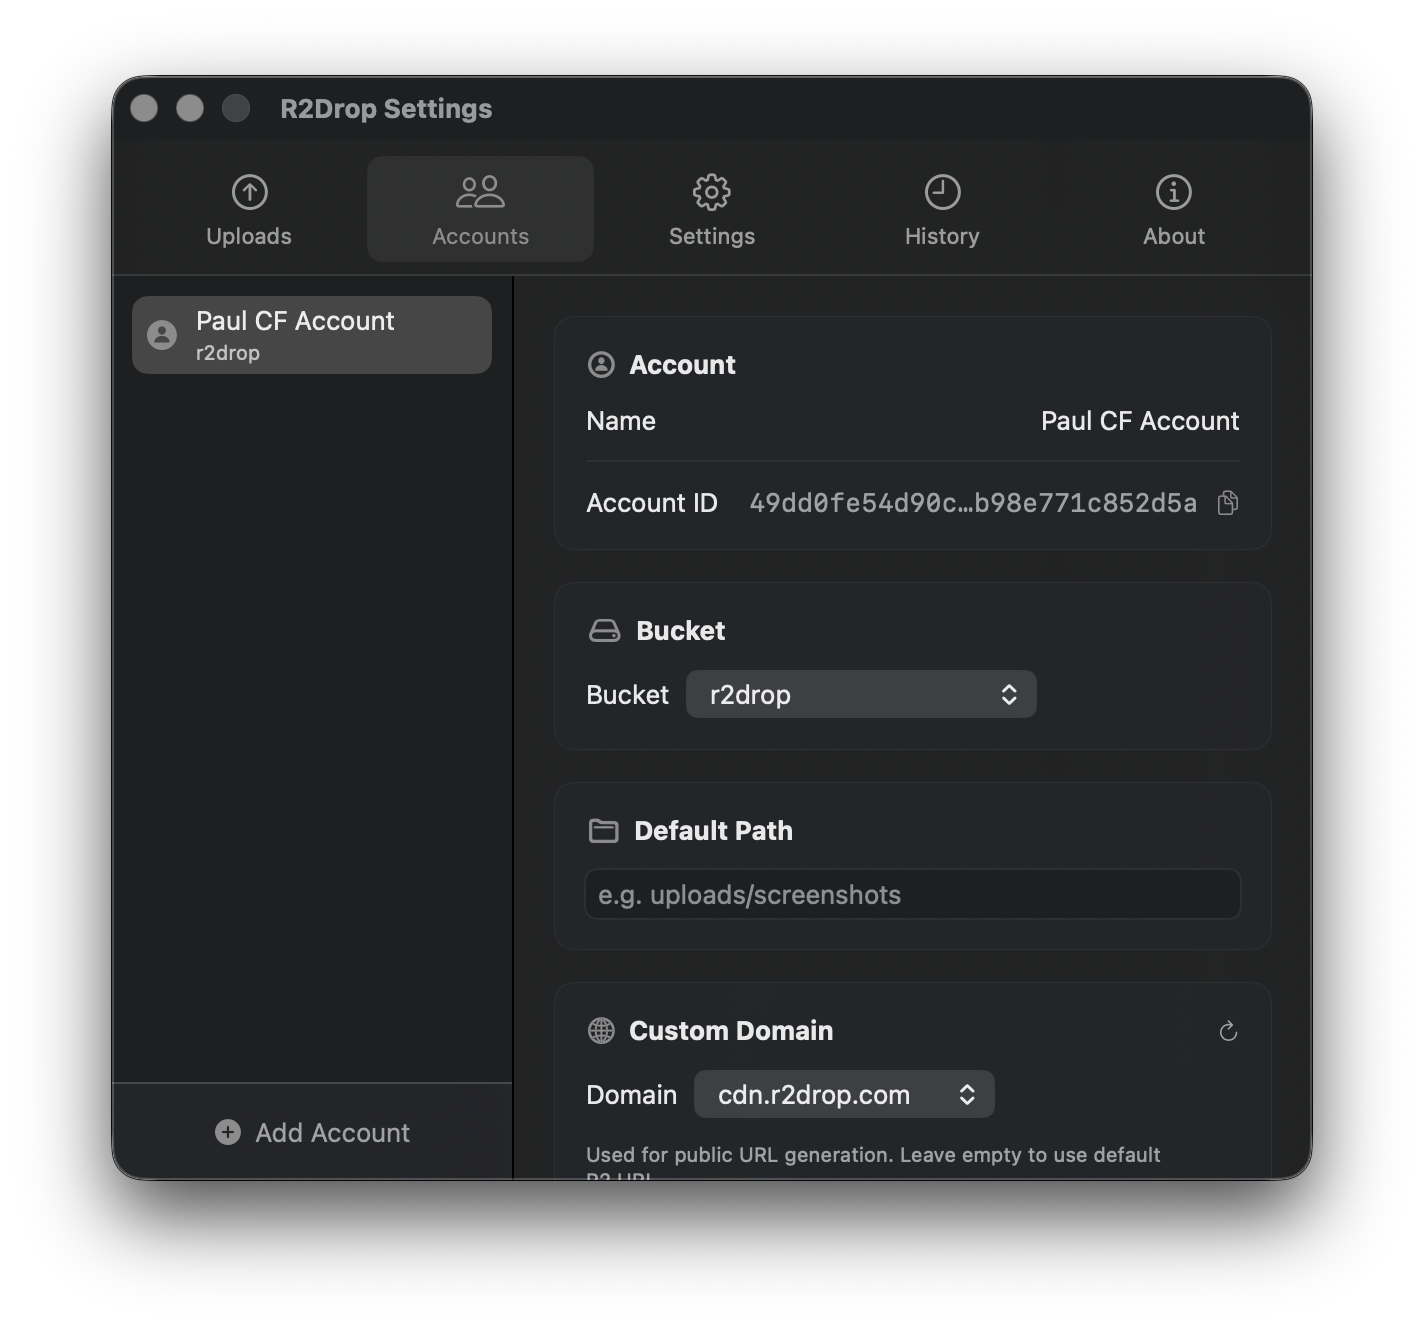
Step 3: Configure Your Bucket

After token verification, configure your R2 bucket:

  • Account ID — your Cloudflare account ID (found in the Cloudflare dashboard sidebar)

  • Bucket name — the R2 bucket to upload to

  • Path prefix (optional) — a subfolder within the bucket (e.g., uploads/)

  • Custom domain (optional) — a domain you've connected to this R2 bucket (e.g., cdn.example.com)

Accounts tab showing a configured account

Step 4: Upload Your First File

Once onboarding is complete, upload a file using any method:

Drag to menu bar: Drop a file onto the R2Drop icon in your menu bar.

Dragging files onto the menu bar icon

Drag into the app: Drop files directly into the Uploads tab.

Dragging files into the app upload area

Finder right-click: Right-click any file in Finder → Send to R2


Step 5: Get the URL

Once the upload completes, the public URL is automatically copied to your clipboard.

You can also find it in the History tab by clicking any completed upload.

History tab showing uploaded files with timestamps

Next Steps

Last updated