Installation

R2Drop has two components: the macOS app (menu bar, Finder extension, upload UI) and the CLI (r2drop command).

You can use either or both — they share the same config and credentials.


macOS App

Download the latest .dmg from GitHub Releasesarrow-up-right.

  1. Open the .dmg file

  2. Drag R2Drop to your Applications folder

  3. Launch R2Drop — the menu bar icon appears

  4. Complete the onboarding flow to connect your Cloudflare account

Homebrew Cask

brew tap superhumancorp/tap
brew install --cask superhumancorp/tap/r2drop

CLI (r2drop)

The CLI lets you upload files from your terminal, automate uploads in scripts, and use R2Drop in CI pipelines.

Option 2: Quick Install Script

This installs the r2drop binary to ~/.local/bin.

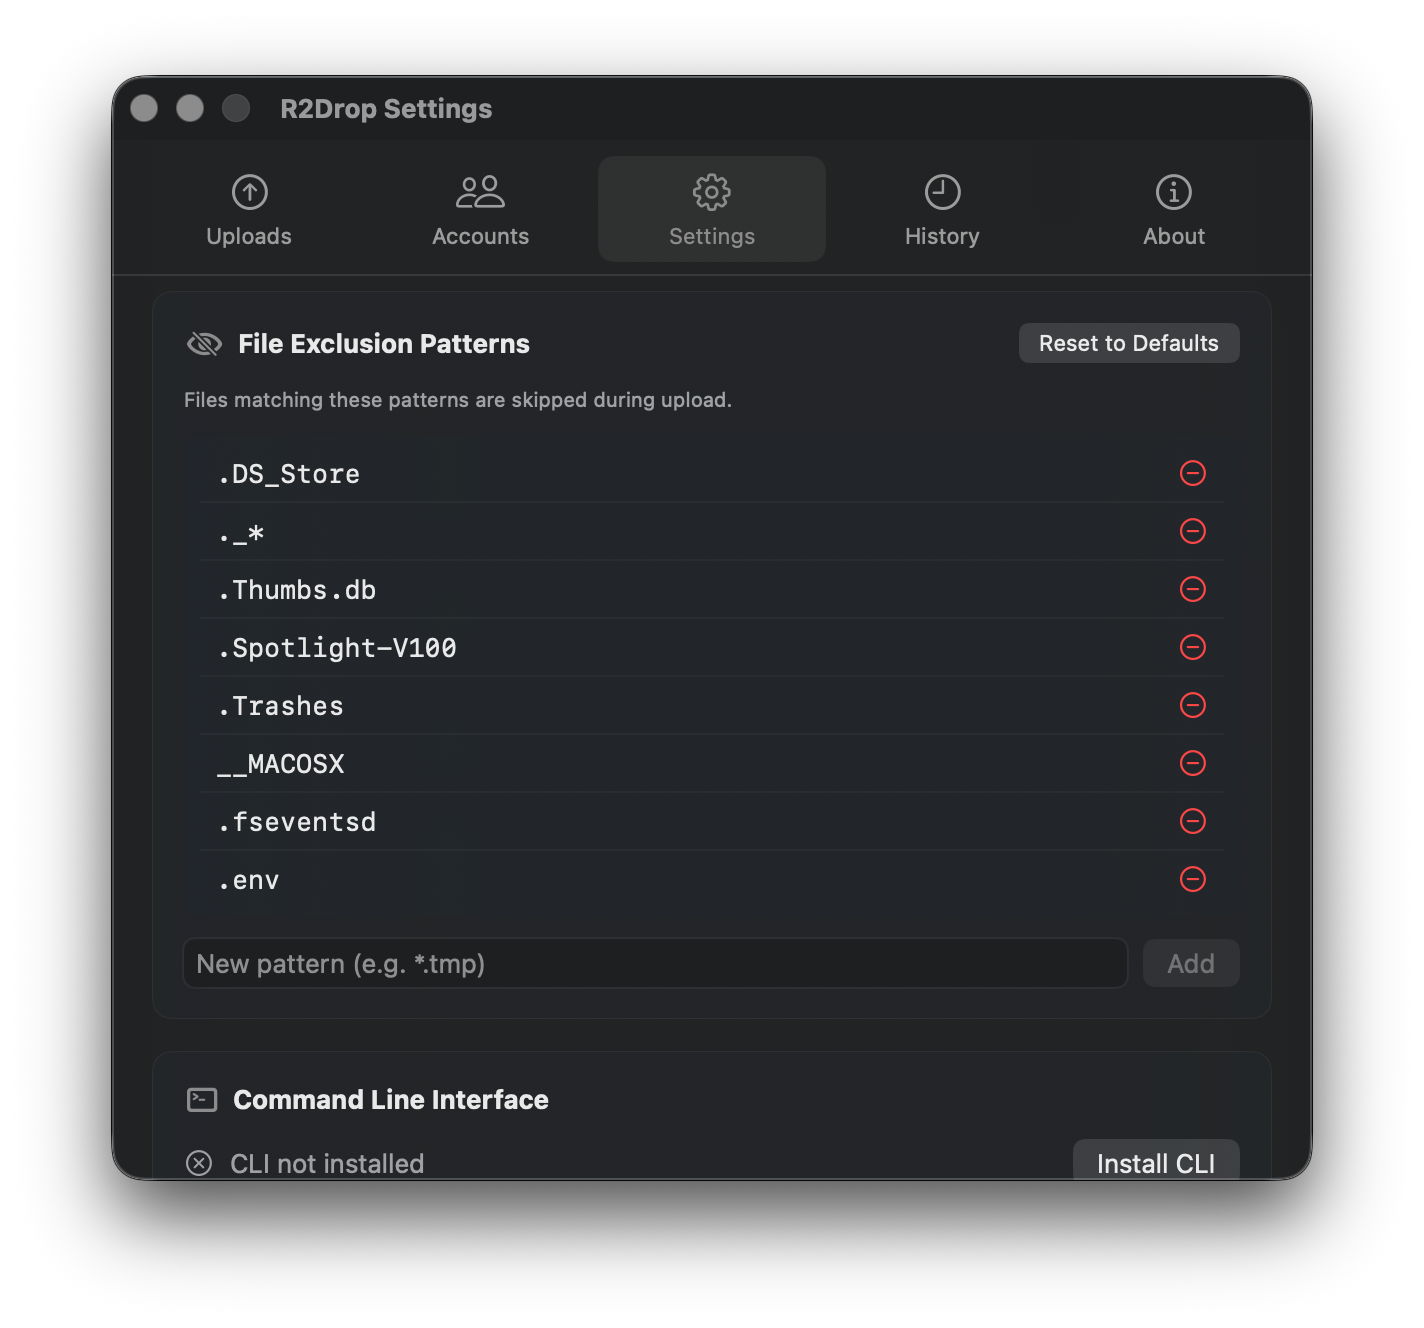
Option 3: From the macOS App

If you already have the app installed, open Settings → Command Line Interface and click Install CLI.

Settings tab showing CLI install button

The app installs r2drop to ~/.local/bin/r2drop.

Option 4: Build From Source

Requires a Rust stable toolchain (rustup update stable).


PATH Setup

If you installed the CLI to ~/.local/bin and the r2drop command is not found:


System Requirements

Component
Requirement

macOS app

macOS 13 Ventura or later

CLI (macOS)

macOS 10.15+

CLI (Linux)

Any modern 64-bit Linux (arm64 or x86_64)


Next Step

Once installed, set up your first account to connect R2Drop to your Cloudflare R2 bucket.

Last updated